Garden Fresh Forever: How to Freeze Green Beans for a Year
Imagine the taste of vibrant, crisp green beans, fresh from the garden, enjoyed in the dead of winter. It’s not just a dream! Learning how to freeze green beans is a simple yet incredibly rewarding skill that allows you to capture the essence of summer's bounty and enjoy it year-round. Whether your garden is overflowing, or you've snagged a fantastic deal at the farmer's market, preserving green beans in your freezer is a smart way to savor their peak flavor and nutritional value for months to come.
Many home cooks wonder about the best approach to freezing vegetables, especially when faced with the perennial debate: to blanch or not to blanch? While food preservation experts often recommend blanching for optimal quality, we're here to tell you that both methods have their merits. This comprehensive guide will walk you through everything you need to know, from selecting the freshest beans to packing them for long-term storage, ensuring your freezer stash of green beans remains delicious and ready for any culinary adventure.
Why Freeze Green Beans? Preserving Peak Freshness
Freezing green beans is more than just a convenience; it's a commitment to flavor and healthy eating. When green beans are at their peak – vibrant green, firm, and tender – they are packed with nutrients and their natural sugars are at their highest. Freezing them quickly after harvest effectively locks in these qualities, preventing the degradation of flavor, texture, and vitamins that naturally occurs over time. This means:
- Year-Round Enjoyment: You're no longer limited by seasons. Add fresh-tasting green beans to winter soups, stews, casseroles, or simple side dishes anytime.
- Nutrient Retention: Freezing helps to preserve the vitamins, minerals, and antioxidants found in fresh green beans, offering a healthier option than many canned varieties.
- Economic Advantage: Capitalize on abundance! Whether from your garden's prolific yield or a sale at the local market, freezing allows you to save money by preserving produce when it's most affordable.
- Reduced Food Waste: Don't let your harvest go to waste. Freezing is an excellent method to ensure every delicious bean finds a purpose.
The key to success starts with the beans themselves. For the best frozen quality, always choose the most tender, crisp green beans available. Avoid any that are overgrown, tough, or stringy, as these will not improve with freezing. While grocery store beans can be frozen, homegrown beans or those sourced from a local farmer's market are often superior, having been picked more recently and thus retaining more of their initial freshness. Aim to freeze your green beans within a couple of days of harvesting or purchasing for optimal results.
Preparing Your Green Beans for Freezing: The Essential First Steps
Before you even consider blanching or packing, proper preparation is paramount. These initial steps set the foundation for high-quality frozen green beans.
- Selection and Sourcing: As mentioned, fresh is best. Look for beans that snap crisply when bent, are brightly colored, and free from blemishes. If you're picking from your garden, try to harvest them when they are young and tender, not overly plump or tough. For store-bought beans, prioritize those that look vibrant and feel firm.
- Washing: Thoroughly wash your green beans under cool, running water. You can do this in a colander, making sure to agitate them gently to remove any dirt, garden debris, or potential pesticides.
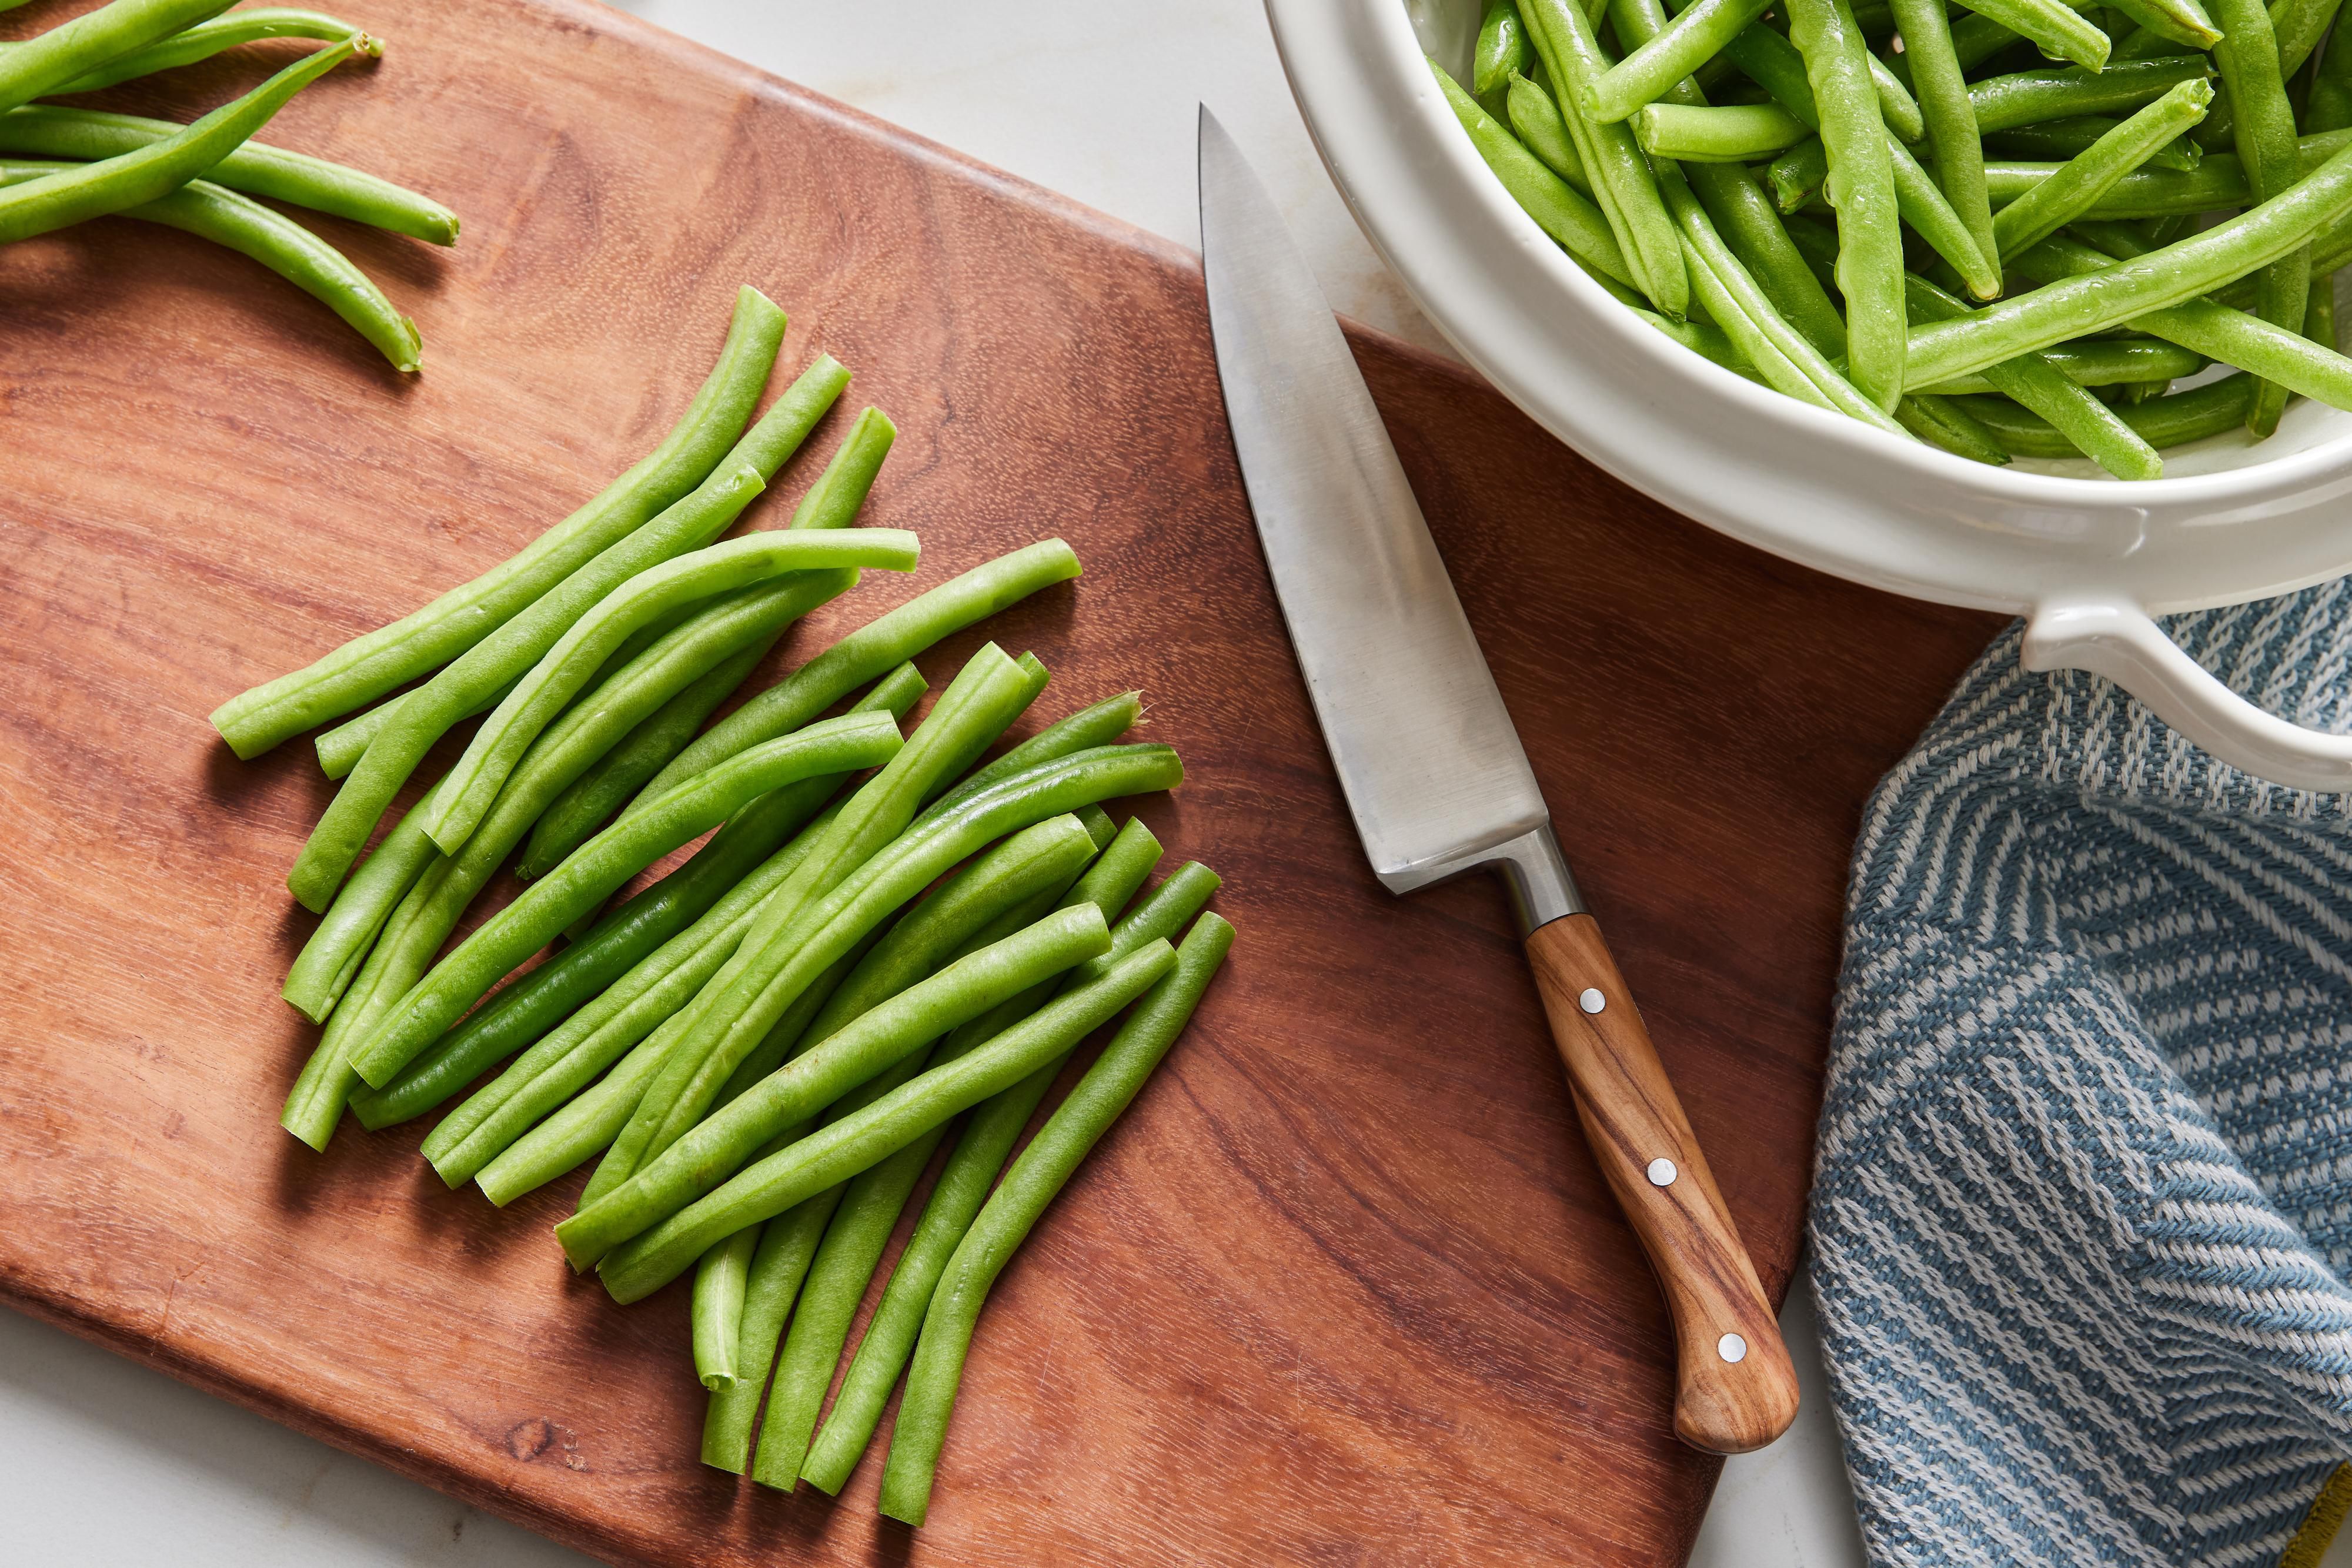
- Trimming: Snap or cut off the stem ends of each green bean. The "tail" end is optional – some prefer to remove both ends for a cleaner look, while others leave the tail for convenience.
- Cutting (Optional): Decide if you want to freeze your green beans whole or cut. Whole beans retain a slightly firmer texture but take up more space. Cutting them into 1-2 inch pieces can be more practical for many recipes like casseroles, stir-fries, or soups, and they take up less freezer space.
- Drying: This step is crucial, especially if you plan to flash freeze. Excess moisture can lead to ice crystals and freezer burn. Lay your washed and trimmed beans on clean kitchen towels to air dry, or use a salad spinner for a faster process. Ensure they are as dry as possible before moving to the next stage.
The Great Blanching Debate: To Blanch or Not to Blanch?
This is arguably the most common question when learning how to freeze green beans. There are passionate advocates on both sides, but understanding the purpose of blanching will help you make an informed decision.
What is Blanching? Blanching involves briefly cooking vegetables in boiling water or steam, followed by an immediate plunge into ice water to stop the cooking process. This quick heat treatment serves several important purposes for long-term freezing:
- Enzyme Deactivation: Green beans, like most vegetables, contain enzymes that, if not deactivated, will continue to break down the vegetable even in the freezer. This leads to changes in color, flavor, and texture over time. Blanching halts this enzymatic activity.
- Preserves Color and Flavor: By deactivating enzymes, blanching helps to lock in the vibrant green color and fresh taste of the beans.
- Improves Texture: Blanching softens the beans slightly, making them more pliable and easier to pack. It also helps them retain a better texture when reheated.
- Cleanses: It gives the beans an extra clean, removing surface dirt and microorganisms.
While blanching is highly recommended by food preservation experts for the best quality and longest storage, particularly if you plan to keep your green beans for more than a few months, it's not strictly necessary for safety. You *can* freeze green beans without blanching, especially if you prioritize speed and intend to use them within a shorter timeframe. For an even deeper dive into this topic, explore our article: Freeze Green Beans: Blanch or Not? Your Ultimate Guide.
Method 1: How to Freeze Green Beans with Blanching
This method yields the highest quality frozen green beans for long-term storage (up to 12 months).
- Prepare Your Setup: Set up a large pot of boiling water and a large bowl of ice water next to your stovetop.
- Blanching (Water Bath): Once the water is at a rolling boil, add your prepared green beans in small batches. Do not overcrowd the pot, as this will lower the water temperature too much. Blanch for 2-3 minutes. The beans should become a brighter green.
- Blanching (Steam Method - Alternative): If you prefer steam blanching, place beans in a steamer basket over an inch or two of boiling water, ensuring the beans don't touch the water. Cover and steam for 3-4 minutes.
- Immediate Ice Bath: Using a slotted spoon or spider, quickly transfer the blanched beans from the boiling water (or steamer) directly into the ice water. This stops the cooking process instantly and "sets" their color. Let them cool in the ice bath for the same amount of time they were blanched.
- Thorough Drying: This is critical! Once completely chilled, drain the beans well and spread them out on clean kitchen towels or paper towels. Pat them dry as much as possible. Any excess water will form ice crystals, leading to freezer burn.
Method 2: How to Freeze Green Beans Without Blanching (The Quick Method)
This method is ideal if you're short on time and plan to use your frozen green beans within 2-3 months. While safe, be aware that the texture and color might not be as vibrant as blanched beans over time.
- Prepare Your Beans: Wash, trim, and thoroughly dry your green beans as described in the preparation section. Ensure they are bone dry.
- Pack Immediately: Once dry, the beans are ready for packing. Skip the blanching and move straight to the freezing step.
Mastering the Freeze: Packing and Storage for Longevity
Proper packing is essential for preventing freezer burn and maintaining the quality of your frozen green beans, regardless of whether you blanched them or not.
- Flash Freezing (Recommended for Both Methods): For individually frozen beans that won't stick together, spread the thoroughly dried green beans in a single layer on a baking sheet lined with parchment paper. Place the baking sheet in the freezer for 1-2 hours, or until the beans are solid. This step prevents clumping, making it easy to grab just the amount you need later.
- Packing Options:
- Freezer Bags: Transfer the flash-frozen beans into heavy-duty freezer bags. The key here is to remove as much air as possible. You can use a straw to suck out the air before sealing, or a vacuum sealer for the best results. Flatten the bags for efficient storage.
- Airtight Containers: If using rigid containers, pack the beans tightly, leaving as little air space as possible at the top.
- Labeling: Always label your bags or containers with the date of freezing and the contents ("Green Beans, Blanched" or "Green Beans, Raw"). This helps with inventory management and ensures you use older batches first.
- Storage Duration:
- Blanched Green Beans: Will maintain optimal quality for up to 10-12 months in a consistently cold freezer (0°F / -18°C or colder).
- Unblanched Green Beans: Best used within 2-3 months for optimal texture and flavor. Beyond this, they may start to show signs of quality degradation.
For more in-depth advice on packing strategies and ensuring your frozen produce stays fresh, check out our guide: Master Freezing Green Beans: Prep, Pack, & Store Expert Tips.
From Freezer to Table: Cooking Your Garden-Fresh Green Beans
One of the best things about having a stash of frozen green beans is their versatility and ease of use. In most cases, there's no need to thaw them beforehand. You can simply add them directly to your cooking:
- Soups and Stews: Toss frozen green beans directly into simmering soups or stews during the last 10-15 minutes of cooking. They'll add a fresh burst of color and nutrition.
- Stir-Fries: Add frozen green beans to your stir-fry pan a few minutes before other quick-cooking vegetables. They'll defrost and cook quickly.
- Steamed or Boiled Side Dish: For a simple side, boil or steam frozen green beans for 5-7 minutes until tender-crisp. Season with salt, pepper, and a pat of butter or a drizzle of olive oil.
- Casseroles: Incorporate frozen green beans directly into your favorite casseroles. They will thaw and cook as the casserole bakes.
Remember that frozen green beans tend to cook slightly faster than fresh ones because their cell walls have been softened by the freezing process. Adjust your cooking times accordingly to avoid overcooking and ensure they retain a pleasant crisp-tender texture.
Mastering how to freeze green beans is a valuable skill that bridges the gap between seasons, allowing you to enjoy the unparalleled taste of garden-fresh produce all year long. Whether you opt for the time-tested blanching method or the quick raw freeze, the effort you put in now will pay dividends in delicious meals for months to come. So, embrace the bounty, fill your freezer, and relish the taste of summer, no matter the season!
