Master Freezing Green Beans: Prep, Pack, & Store Expert Tips
The vibrant crunch of fresh green beans is a highlight of summer, whether harvested from your garden or picked up at the local farmer's market. But what if you could enjoy that garden-fresh goodness all year long? Freezing green beans is a simple, effective, and incredibly rewarding way to preserve their peak flavor, texture, and nutritional value. This comprehensive guide will walk you through everything you need to know about
how to freeze green beans, from initial preparation to smart storage and cooking, helping you stock your freezer with a versatile vegetable ready for any meal.
One of the most frequently debated topics among home preservers is whether or not to blanch green beans before freezing. While there are passionate advocates for both approaches, we're here to demystify the process and equip you with the knowledge to choose the method that best suits your needs. Whether you're aiming for long-term storage or a quick solution for a smaller batch, mastering the art of freezing green beans means enjoying delicious, healthy produce even when the snow flies.
Why Freeze Green Beans? The Ultimate Preservation Hack
Freezing isn't just about preventing waste; it's about intelligent food management and enjoying superior quality produce throughout the year. When you learn
how to freeze green beans effectively, you unlock a world of culinary convenience and taste.
*
Preserve Peak Freshness: Green beans, like many seasonal vegetables, are at their prime for a limited window. Freezing them locks in their flavor, color, and texture at their absolute best, far surpassing the quality of store-bought "fresh" beans in the off-season.
*
Economical Choice: If you grow your own beans or find them in abundance at a great price at the farmer's market, freezing allows you to capitalize on these savings.
*
Convenience for Future Meals: Having prepped and frozen green beans on hand drastically cuts down meal preparation time. They're perfect for tossing into soups, stews, stir-fries, or as a quick side dish.
*
Nutrient Retention: Freezing, especially after blanching, helps to retain many of the vitamins and minerals present in fresh green beans, often better than canning or other high-heat preservation methods.
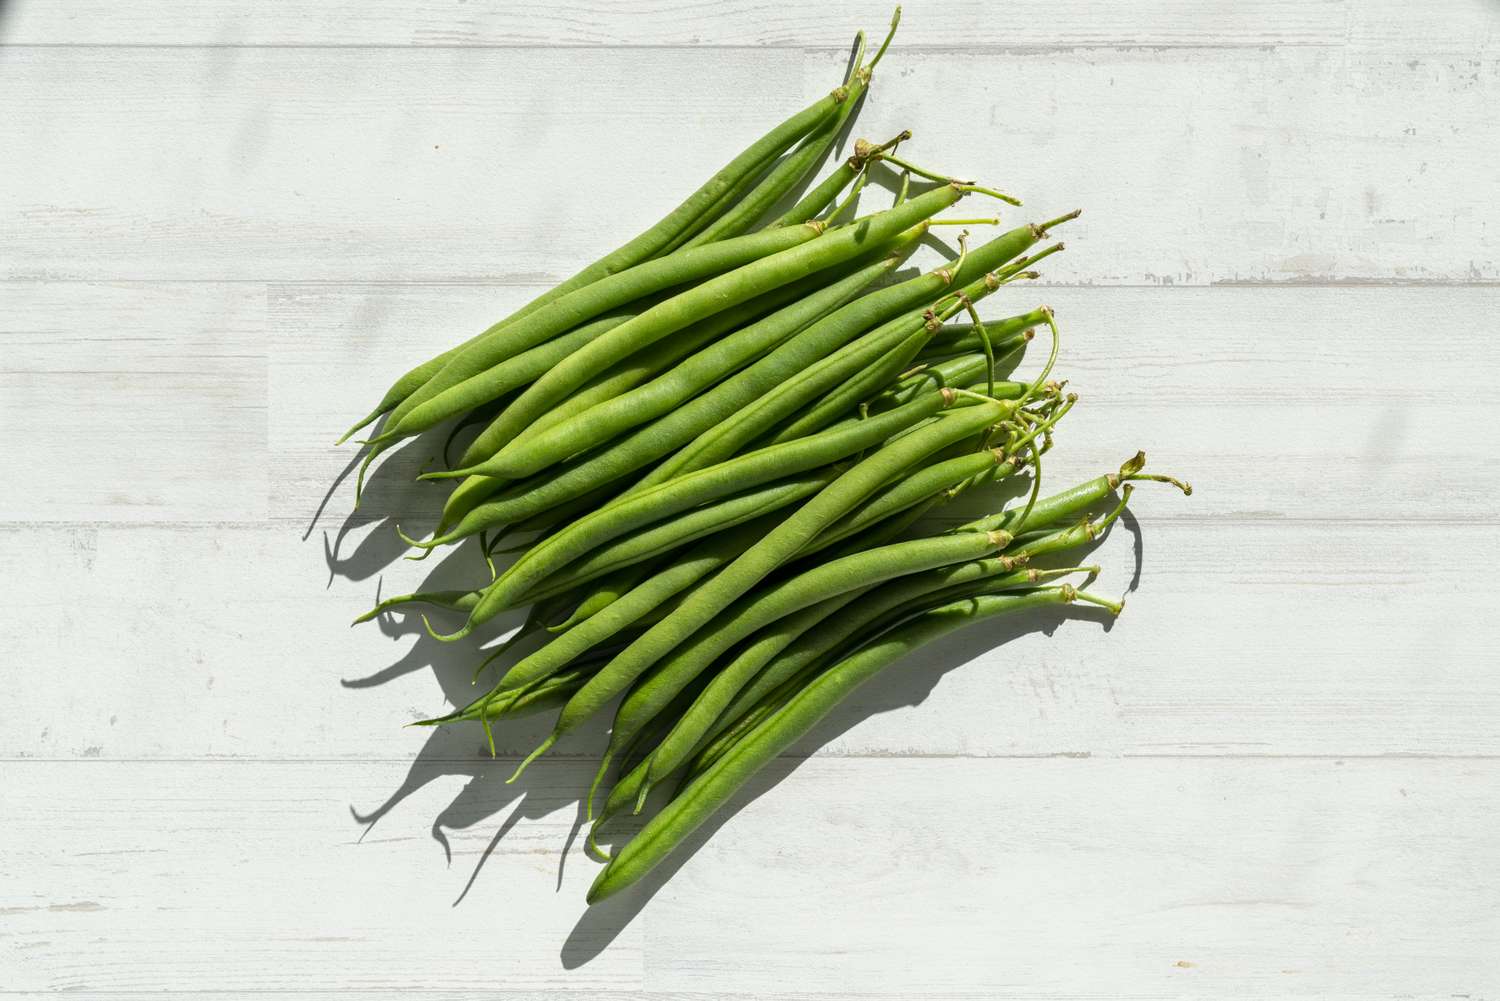
For the best results, start with the freshest beans possible. Homegrown beans, harvested within a day or two of freezing, are ideal. If you're buying them, seek out those from a farmer's market – they're typically picked much more recently than those from a grocery store. Look for beans that are bright green, firm, and snap crisply when bent. Avoid any that appear limp, bruised, or have begun to yellow. If you can't freeze them immediately, store harvested beans loosely in a plastic bag in the refrigerator for a couple of days to maintain their firmness. This applies to all varieties, from classic string beans and pole beans to slender French haricots and flat Romano-style beans.
Essential Preparation Steps for Optimal Freezing
Regardless of whether you choose to blanch your green beans or freeze them raw, a few universal preparation steps are crucial for ensuring the best quality product. These initial stages are fundamental to
how to freeze green beans successfully.
Sorting and Cleaning
1.
Inspect Thoroughly: Lay your green beans out and carefully inspect them. Remove any beans that are bruised, discolored, or showing signs of pest damage. Discard any that are overly mature, tough, or stringy. You want only the most tender and crisp beans going into your freezer.
2.
Wash Well: Place the beans in a colander and rinse them thoroughly under cold running water. You can even submerge them in a basin of cold water and gently agitate them to remove any dirt, soil, or lingering garden debris.
3.
Dry Completely: This step is often overlooked but is incredibly important. Excess moisture can lead to ice crystal formation and freezer burn. Lay the washed beans out on clean kitchen towels or paper towels and pat them dry, or use a salad spinner. Ensure they are completely dry before proceeding.
Trimming and Cutting
1.
Snip the Ends: Trim off the stem end of each bean. Some people also trim the tail end, but this is optional and often depends on the variety and your preference. For many beans, simply snapping off the stem end is sufficient.
2.
Whole or Cut?: Decide if you want to freeze your beans whole or cut them into smaller pieces.
*
Whole Beans: Ideal for steaming, roasting, or dishes where their full length is aesthetically pleasing.
*
Cut Beans: Perfect for adding to soups, stews, casseroles, or stir-fries. If cutting, aim for uniform 1 to 2-inch pieces to ensure even cooking later. This also helps with packing efficiency.
Blanching vs. No Blanching: Making Your Choice
The decision to blanch or not to blanch is central to understanding
how to freeze green beans. Both methods are safe, but they yield different results in terms of texture, color, and how long the beans will maintain their peak quality in the freezer.
The Blanching Method: For Superior Quality and Long-Term Storage
Blanching is the process of briefly scalding vegetables in boiling water or steam, followed by immediate immersion in ice water to stop the cooking process. Food preservation experts widely recommend blanching for most vegetables, including green beans, destined for freezing.
*
Why Blanching is Beneficial:
*
Deactivates Enzymes: This is the primary reason. Enzymes naturally present in vegetables cause degradation of color, flavor, and texture even in the freezer. Blanching stops this enzymatic action, preserving the bean's quality for up to a year.
*
Brightens Color: It sets and intensifies the vibrant green hue.
*
Cleanses: A quick blanch helps further clean the surface of the beans, reducing the microbial load.
*
Softens Slightly: It slightly softens the beans, making them easier to pack and improving texture upon reheating.
* *For a deeper dive into this topic, check out our related article:*
Freeze Green Beans: Blanch or Not? Your Ultimate Guide
*
How to Blanch Green Beans:
1.
Prepare an Ice Bath: Fill a large bowl with ice and water. This is critical for rapidly stopping the cooking process.
2.
Boil Water: Bring a large pot of water to a rolling boil. For every pound of green beans, use at least a gallon of water. Alternatively, you can use a steamer basket over boiling water (steam blanching).
3.
Blanch: Add a manageable batch of green beans to the boiling water (don't overcrowd the pot, or the water temperature will drop too much). Cover the pot and boil for 3 minutes for small beans, 4 minutes for larger ones. If steam blanching, steam for 5 minutes.
4.
Rapid Cool: Immediately transfer the blanched beans with a slotted spoon to the ice bath. Let them cool for the same amount of time they were blanched (3-4 minutes) to ensure they are thoroughly chilled.
5.
Dry Thoroughly: Once cooled, drain the beans well and spread them on clean kitchen towels to dry completely. This step, post-blanching, is just as crucial as the initial drying to prevent ice crystals.
Freezing Without Blanching (Raw Freezing): The Quick & Easy Option
Yes, you can freeze green beans without blanching! This method is a time-saver and perfectly safe, though it comes with some caveats regarding quality and storage duration.
*
When to Choose Raw Freezing: This method is ideal for smaller batches of beans that you plan to use within a couple of months. It’s perfect if you're short on time or prefer a slightly firmer texture that some believe mimics fresh beans better in certain dishes.
*
Pros: Quickest method, requires less equipment and effort.
*
Cons: Without blanching to stop enzyme activity, unblanched beans may experience a gradual decline in quality over time. You might notice a tougher texture, duller color, and a less vibrant flavor after a few months. They are more susceptible to freezer burn.
*
How to Freeze Raw Green Beans:
1. Follow the
sorting, cleaning, and drying steps outlined above.
2. Trim and cut the beans as desired.
3. Proceed directly to the packing and storage steps below.
Expert Packing and Storage Techniques
Proper packing is just as important as preparation when learning
how to freeze green beans. The goal is to minimize exposure to air, which causes freezer burn and compromises quality.
Flash Freezing for Convenience
1.
Single Layer Freeze: After your beans are completely dry (whether blanched or raw), spread them in a single layer on a baking sheet lined with parchment paper.
2.
Pre-Freeze: Place the baking sheet in the freezer for 1-2 hours, or until the beans are frozen solid.
3.
Why Flash Freeze?: This prevents the beans from clumping together in the storage container, allowing you to easily grab just the amount you need later without having to thaw the entire batch.
Airtight Packaging Options
1.
Freezer Bags:
* Transfer the flash-frozen beans into heavy-duty freezer bags.
* Remove as much air as possible. You can do this by pressing the air out manually, using a straw to suck out the remaining air, or by submerging the bag (with the opening just above the waterline) in a bowl of water to let the water pressure force the air out.
* Seal tightly.
2.
Rigid Containers:
* If using rigid freezer-safe containers, pack them tightly, leaving minimal headspace to reduce air exposure.
* Ensure the lids create an airtight seal.
3.
Vacuum Sealing:
* For the absolute best long-term results, a vacuum sealer is highly recommended. It removes nearly all air, offering superior protection against freezer burn and extending the shelf life significantly.
Crucial Storage Tips
*
Label Everything: Always label your bags or containers with the contents (e.g., "Green Beans, Blanched") and the date of freezing. This helps with inventory management and ensures you use older batches first.
*
Maintain Temperature: Store frozen green beans at 0°F (-18°C) or colder. Consistent temperature is key; fluctuations can lead to ice crystal formation and freezer burn.
*
Storage Duration:
*
Blanched Green Beans: Can be stored for up to 10-12 months while maintaining excellent quality.
*
Unblanched (Raw) Green Beans: Best used within 2-3 months for optimal quality, though they will remain safe to eat for up to 6 months. After this, their texture and flavor may significantly degrade.
* *For comprehensive guidance on maximizing storage life, refer to our article:*
Garden Fresh Forever: How to Freeze Green Beans for a Year
Cooking Your Frozen Green Beans
One of the greatest advantages of having frozen green beans is their versatility and ease of use in cooking. The good news is, you typically don't need to thaw them first!
*
From Freezer to Pot: Most recipes can accommodate frozen green beans directly from the freezer. Adding them frozen helps them retain a better texture.
*
Steaming: Place frozen beans in a steamer basket over boiling water and cook for 5-8 minutes, or until tender-crisp.
*
Sautéing: Heat a little oil or butter in a pan, add frozen green beans, and sauté for 8-12 minutes, stirring occasionally, until tender and lightly browned.
*
Soups and Stews: Add frozen green beans during the last 10-15 minutes of cooking time to prevent them from becoming too mushy.
*
Roasting: You can roast frozen green beans directly. Toss them with olive oil, salt, and pepper, and roast at 400°F (200°C) for 15-25 minutes, stirring once, until tender and slightly caramelized. Blanched beans tend to roast better than unblanched ones.
Keep in mind that frozen green beans, especially those that haven't been blanched, may have a slightly softer texture than freshly picked ones. Adjust your cooking times accordingly to reach your desired tenderness.
Conclusion
Freezing green beans is a simple yet incredibly impactful way to extend the bounty of harvest season and ensure a supply of fresh-tasting vegetables year-round. By following these expert tips on preparation, blanching (or opting out), meticulous packing, and proper storage, you’ll master
how to freeze green beans with confidence. Whether you prioritize speed with raw freezing or aim for year-long perfection with blanching, you now have the knowledge to make the choice that best fits your lifestyle. So go ahead, fill your freezer, and enjoy the convenience and deliciousness of garden-fresh green beans whenever the craving strikes! And for those looking to explore other ways to preserve this versatile vegetable, don't forget to consider pickling or fermenting for a different kind of culinary adventure.